

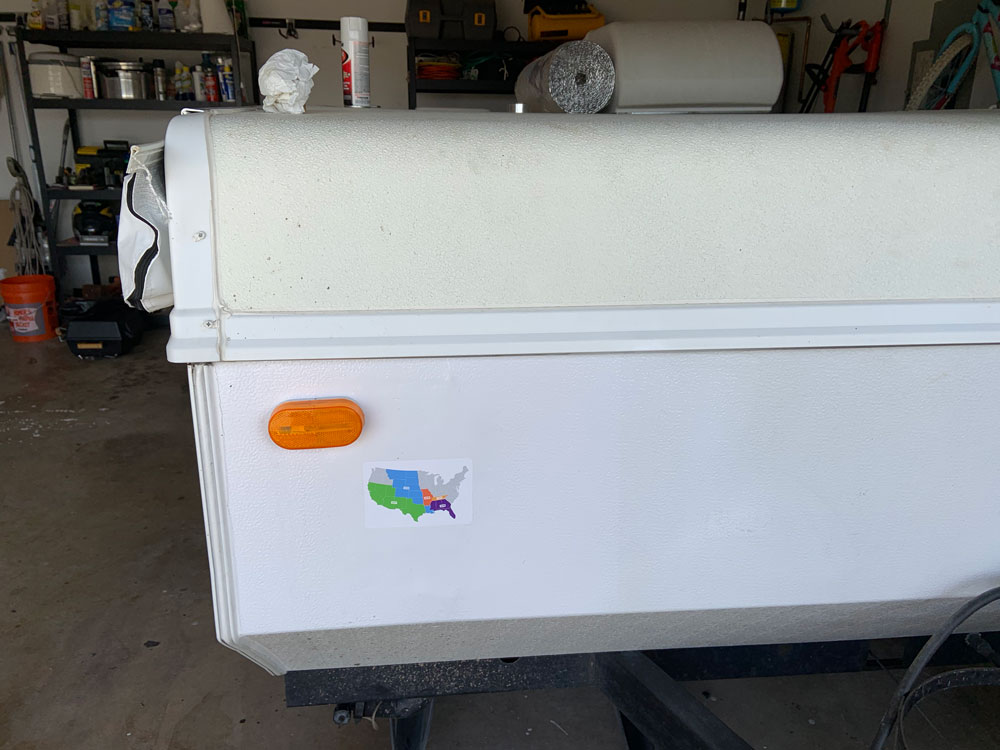
When I bought our second new-to-us pop-up camper, this gash was one of the blemishes on the front corner. I credit this gash for being the reason no one had purchased the camper before we had a chance. Some folks saw a major flaw. I saw an opportunity to save money.
This was after I had already put plywood backing to support the sheet metal.
In a previous post about buying used pop-ups, I talked about how to get a great deal on a used pop-up campers. In short, it helps to know a bit about how easy or hard certain repairs are to make.
This particular gash looked like someone had a 2×4 fly out of the bed of a pickup and pierce the metal and plywood.
On inspection, the rest of the camper was solid. Even better — the previous owner had protected the gash with fresh, heavy duty duct tape every season. So, there wasn’t any rot or water damage.
To replace the front panel with sheet metal through an RV shop would have been around $300 for materials and closer to $450 with labor.
The cost of those repairs, along with a few other estimated expenses, helped me negotiate a few hundred dollars off of the asking price. (In total, I bought camper for $1,320 below asking price.)
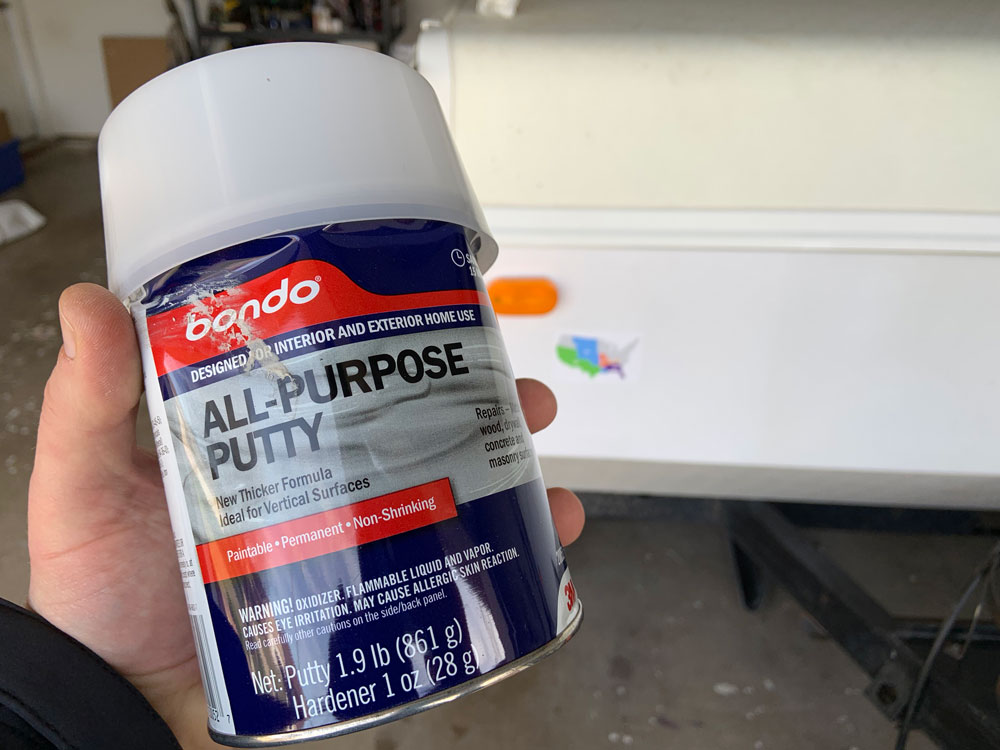
A week later, I went to the local home supply store and spent $20 on some Bondo All-Purpose Putty and white spray paint. After all — all I really needed was to protect the camper from the elements and disguise the blemish.
Here is the finished product.
Not bad, for a “shoot from the hip” DIY project.
Here are the steps I followed.
1. Trim away the excess.
First, I needed to trim away the damaged area. This was the scariest part of the repair, because it felt like I was damaging the camper more. But, I knew that portions of the sheet metal weren’t going to be able to be flattened cleanly. I needed to get rid of the excess and the sharp bits.
2. Route exposed wires.
In the original exposed cavity of the camper, the wires that ran to the running light from the harness on tongue of the camper were exposed. I didn’t want the wires to be snagged or cut during the repairs, nor did I want the wires entombed by the Bondo. So, I routed them above the plywood backing in the next step.
3. Cut plywood for the backing.
The hole wasn’t very large, and it didn’t allow for much wiggle room. I cut 2 narrow pieces of wood from an old fence slat and inserted one in the left, and another in the right side of the hole. Then, I butted them together.
4. Fasten the parts together.
With a few short screws, I secured the remaining sheet metal to the wooden inserts. I recessed them, because I wanted to be able to patch those holes with the Bondo in step 5.
5. Mix and apply Bondo.
The instructions on the Bondo were simple. I mixed the ingredients in the amounts specified and patched as if I was spackling a wall. I needed to work quickly, because the Bondo doesn’t take long to seize up.
(Be sure to work in a well-ventilated area. The Bondo smells strong. I put one paper towel in the kitchen trash, and my wife felt like she smelled it for days.)
6. Be patient.
Perhaps the hardest part for DIYers is to be patient. I needed to let the Bondo fully cure. This is important before sanding. It also lets you see iif any additional holes need to be filled.
7. Sand the surface smooth.
After filling the space and being sure to add a slight mound on the surface so that I could sand it down, I sanded the Bondo using rough, then fine sand paper.
8. Clean the surface.
I cleaned the surface thoroughly, since the sanded Bondo sheds a fine, white powder.
9. Tape and paint.
It is possible to find orange-peel texture to emulate the rest of the camper body if you want perfection.
For my purposes, I didn’t see the need, since I was doing the repair for function rather than cosmetics. I taped off the area with trash bags, making sure that the running light was covered also.
I sprayed smoothly in several light layers.
Conclusion
As you can see, the repair turned out great. I have shown the camper to a number of friends, and nobody notices the patch until I point it out to them.
What repairs are you making to your camper? Post comments below.
